So my experiment in "four figures a day" has been somewhat semi-successful. When life isn't intruding upon it, I seem to get a lot painted. Case in point; for the month of February, I have gotten 55 figures painted and one building completed.
This breaks down to:
Building: The livery stable. (A conversion of an Ertl Cowtown building). This is the third building I have built since the beginning of the year.
Figures:
Fantasy Townsfolk: 10
Fantasy Gypsies: 2
Giant Mushrooms: 6
Dog: 1
Giant Rats: 2
Mimic: 1
Mules/Donkeys/Burros: 6
Cowboy/Gunfighters: 8
Pulp/Colonial figures: 4
Voodoo Zombies: 14
Zombie Master: 1
All in all not a bad tally for one months work.
The easiest way to do this (the four figures a night), is the block painting method. Find a group of figures that are generally the same, and work on the major colors. Put some music or your favorite show or movie on in the background, (I am currently bouncing between Spotify/iTunes Radio/ and The ST: DS9 channel), and go to town. Paint for an hour or so and take a 5-10 minute break. Do 2-4 hours if possible, if not try the "one hour a night" method as that is quite workable also.
Remember that the idea is "to get the figures painted". This doesn't mean flocked, sealed, etc. I consider that "finished". Just get the colors on and get them ready for flocking and sealing.
So without further eloquence, I am showing off some of this months work. (Please click on the photos for larger versions...I think.)
Readers will notice that the pics of the figures seem to be "glossy". This is actually not the case. This is a result of my crappy Iphone 8 camera, and the bright OTT lamp that I use for lighting.
First up is the fantasy stuff.
Here's the "bed" mimic. He was pretty fun to paint up, and looks like a Disney Creation with a bad attitude.
This was one of the Reaper Bones V figures IIRC. I needed some more monsters and wanted a fun thing to work on for a bit. Painting the same types of creatures and figures gets a little tiresome after a while.
Speaking of Disney, "Shades of Fantasia!"
 |
| (Reaper Mushrooms) |
Again more figures from the Reaper KS.
I'll be honest, I am quite pleased with the production (for the most overall part) of Reapers stuff that is coming out. I wasn't as thrilled with their latest KS (6) as I was with 4 and 5, and I think that for the most part I am pretty much well done on fantasy figures for a while. Unless there is something new, cool, and "ooooohhhh shiny!" that comes along.
But you always need more villagers and townsfolk....
 |
| (Reaper villager. Perhaps he is expressing his undying love to a maiden or perhaps trying to explain why he doesn't have the money he owes to pay back the loan that he took out?...) |
 |
| (And what's a village without a happy, go-lucky gypsy guy to spice things up?)... |
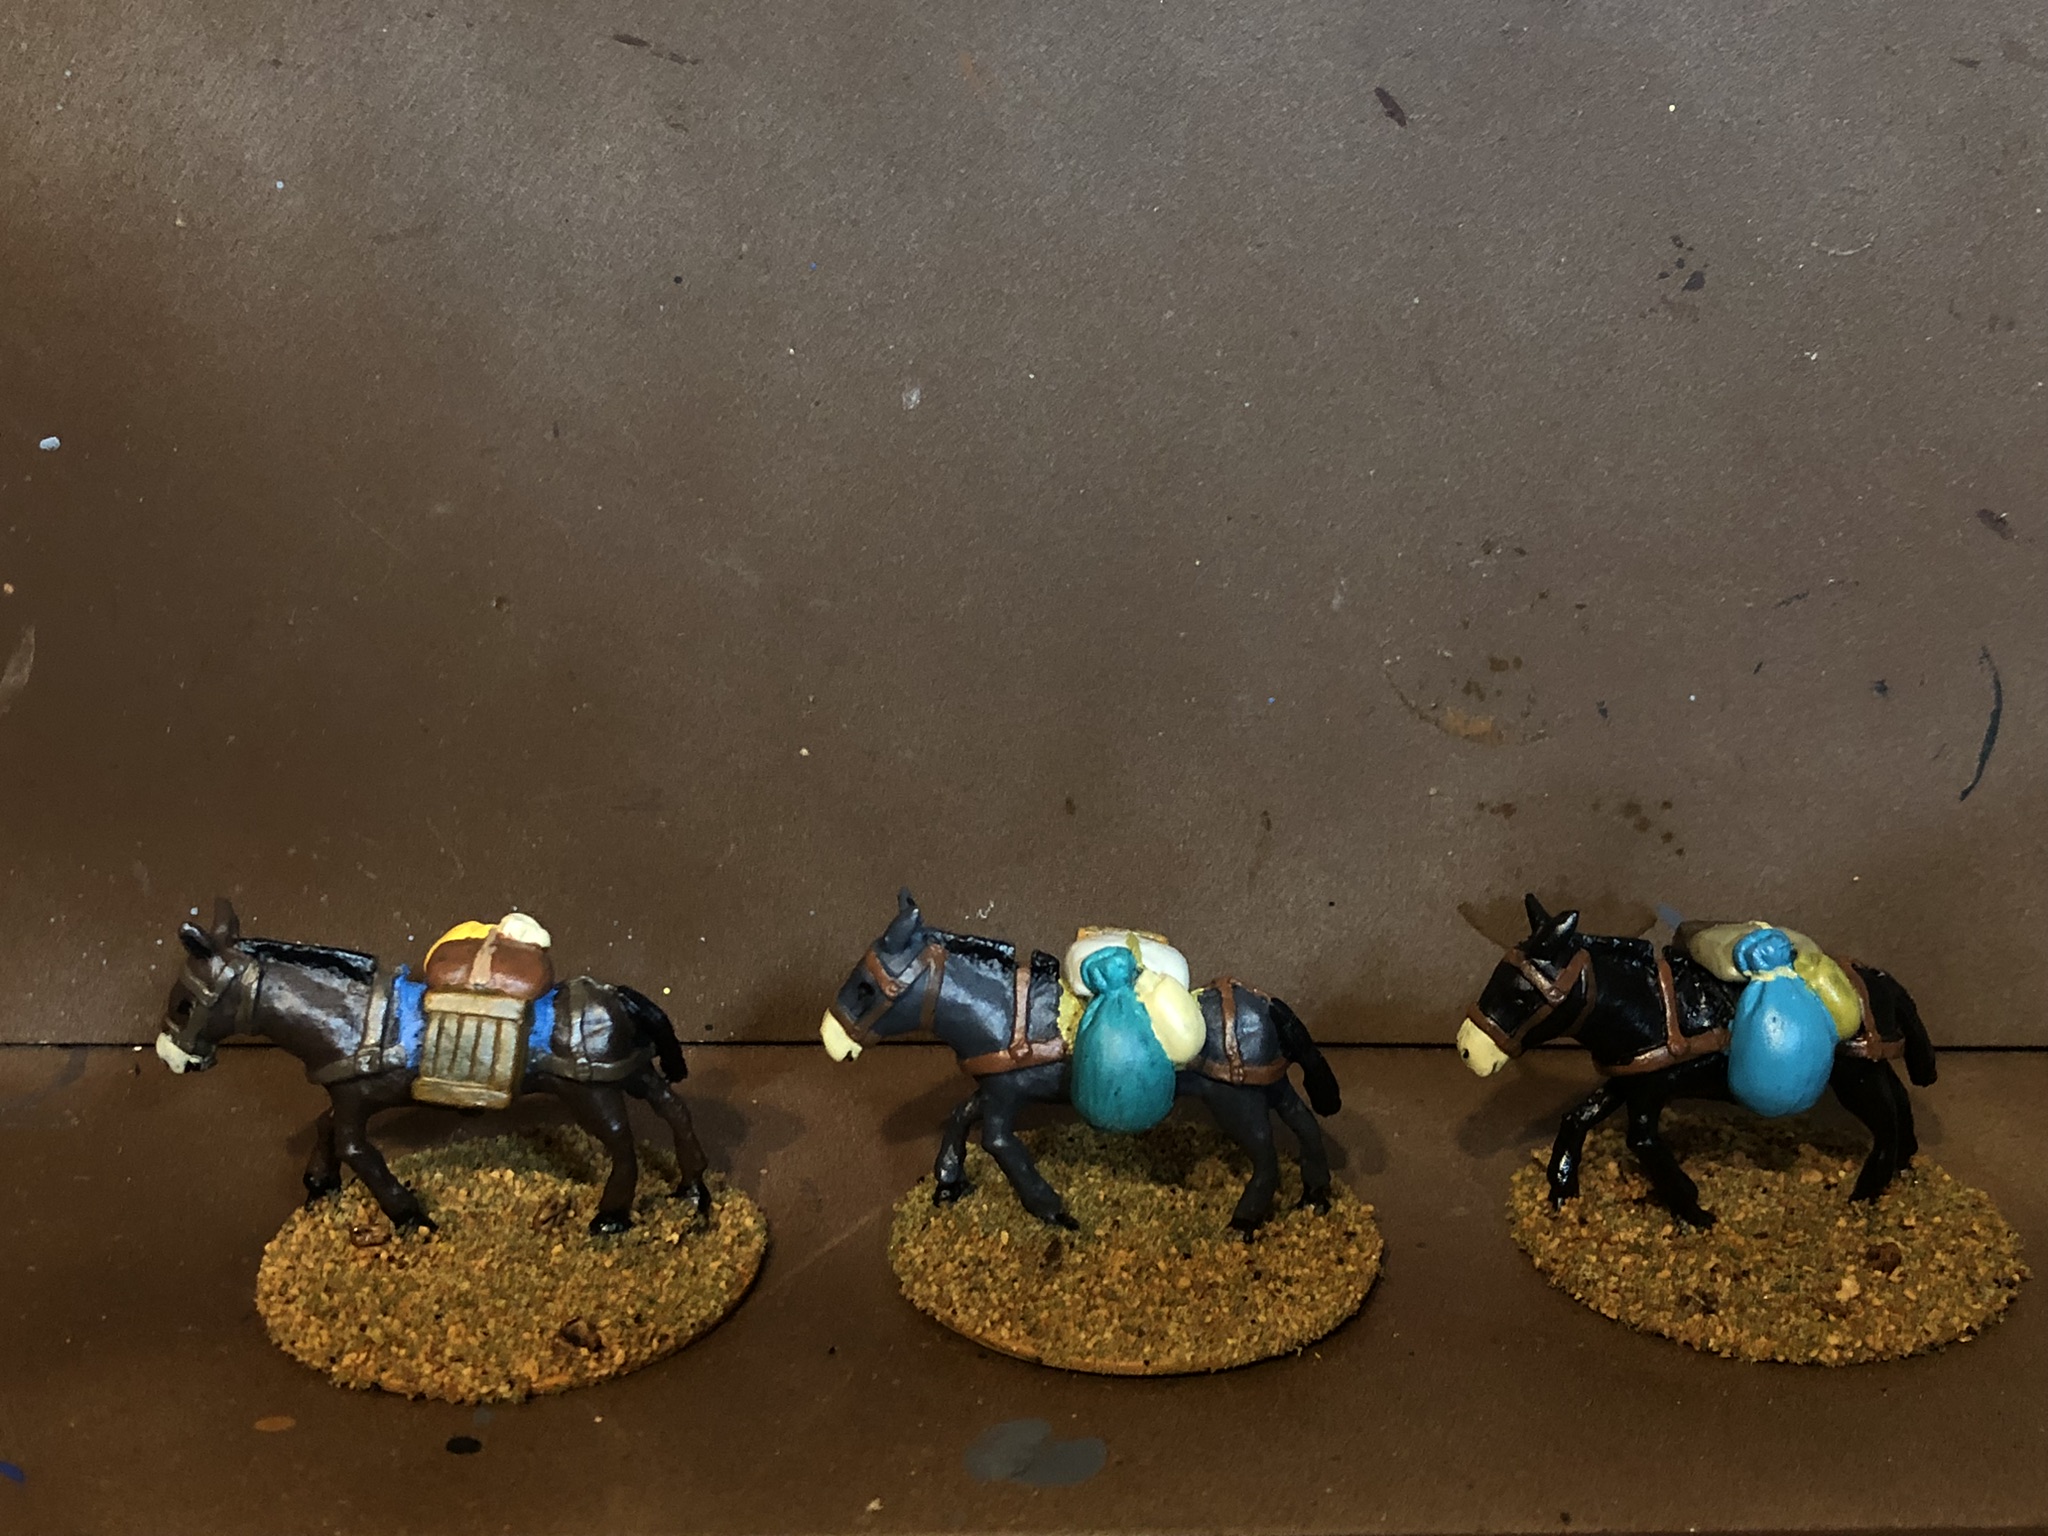
After this, I decided to paint up some supply mules, donkeys, and burros. The majority of these came for a TMP purchase I did many years ago. I like them because they can pretty much be used for just about any real period that I play, plus they can also be used as supply point markers, or even objectives!
 |
| (Juan Valdez would be proud...) |
 |
| ("Fifteen miles on the Erie Canal!...) |
 |
| ("Muuuuullllleeee Traaaaiiiinnnn!!!") |
After the supply mules were painte dup, I went ahead and painted up a few colonial/pulp figures. Two of the figures were the same, so I did them in different paint jobs.
 |
| (Lord Balderdash keeps his pistol at the ready as he moves slowly forward...) |
 |
| (Meanwhile his fellow officer companion, and friend Major Blunder, tags along warily...) |
Here's a couple of side by sides to get an idea of the different paint jobs. These figures are from Pulp Figures and as always are a joy to paint...
After this, it was a couple of Foundry Ruga Ruga's...
Neither of them seem very like very pleasant chaps....
After the Ruga Ruga's, I switched over and painted up some cowboy/gunfighters.
Readers of Marvel Comics Western series will probably recognize this fellow as from "The series that Marvel wants you to forget."
 |
| (Wellll....helllooooooooooo there cowboy....) |
And some more guys with their shootin' irons...
 |
| (Mister Thomas J. Petty, gunfighter and balladeer extraordinaire...) |
 |
| (Jack Ashby, formerly a Captain of Cavalry, CSA...) |
 |
| (Oscar Meyer, local citizen and member of "The Citizens Safety Committee...) |
 |
| (Henry Dawson, another member of The Citizens Safety Committee. ) |
 |
| ("Buckskin Dan Peters, realizing he's gotten into more than he can handle...) |
 |
| (Samuel Masters, former sheriff, coming out of retirement to handle someone...once again.) |
 |
| (William "Billy" Appleton. He has a bright blue shirt, a big pistol, and a short fuse....) |
That's all for now. More figures and stuff to be coming down the pipeline!