The Blog of Michael T. Murphy and his lifelong obsession with "little army men" and their imaginary glory, miniature wargaming, and other things...

Showing posts with label Hawgleg. Show all posts

Tuesday, July 5, 2022

"The Chinese Laundry"

 So as I have said in my last post, I have gotten back onto my project of my Western Town of Rimfire, (Arizona Territory), and have been busily getting back into building some of the buildings and structures needed.

I was finally able to get one finished today.

So for your enjoyment, may I present to you, Rimfire's only "Genuine Chinese Laundry" run by none other than Mr. Wun Hung Lo himself!


(The weathered front of Wun Hung Lo's Chinese Laundry. He'll get your clothes clean one way or another....)


(A side view of the shop, showing one of their business signs. "You get what you pay for. You pay for what you get."  The boardwalks are separate from the building as is the miscellaneous stuff on the side of the building. You can easily see the weathering and the fading and worn paint.)


(A front view of the shop. Boardwalks are from the Arnica Montana line, produced by Hawgleg. Fence, barrels, and the pile of stuff on the side (not seen here), are from Acheson Creations. I have to touch up the white edges of the signs...)


(Lars Larsen (recently from Norway, via Minnesota, speaks with Mr. Wun Hung Lo about his "laundry bill", while Lo's nephew, Wang Chung speaks to a couple of gentleman that are "looking for a Chinese girl with green eyes...." Figures are by Pulp Figures and Dixon. Don't ask about the duck...)


The building is resin and from the Arnica Montana Line produced in limited quantities by Hawgleg.
The boardwalks are separate and are from the same line.
Fencing, barrels, and baggage on the side, are from Acheson Creations. 

Assembly was quick and easy, with a slight modification needed for the roof. 

Paints were a primer of black spray from Krylon, and then Apple Barrel Craft Paints of Burnt Umber, Primary Red, Cherry Red, and Cadmium Yellow with a drybrush of Burnt Sienna, and then another of Antique White for weathering. 
This can show that you really don't need expensive eye dropper paints to be able to achieve a good effect. 

I still need to weather the boardwalks, and do a little interior work, but for the most part this is done.

I'm happy with how it turned out, and it will add a bit of color and flavor to my Western Town. 

More to come, so stay tuned!

Thanks for reading!


Tuesday, June 22, 2021

June 2021 update...Middle of the Year already?!?!....

 It seems like the blink of an eye since May and suddenly we are at the high point of June. Solstice and the shortening of the days. So I guess it is time for me to get on with another update.

CLEAN UP THAT ROOM YOUNG MAN!!!!!

Okay, so in tried and true miniature gamer tradition, I trashed my work area. 
Projects came and went, repair jobs are waiting to be done. Old projects coming back to life, new projects trying to start, figures needing paint....AAAAAAHHH!!!! *runs screaming*....
Okay...*huff huff*...I am back now...*wheeze*
So the other day I came down into the paint room and realized just "what a mess" it had become.


YIKES! My mom would kill me!

So I sucked in a big ol' gulp of air, put on some music, and went to work cleaning up the area, and the paint/work table.
Trash was thrown away, old paint water drained, dropper bottles and paint pots, back into the rack, tools and brushes back into their respective containers, stuff picked up off the floor, etc.
Finally I got it looking decent once again....

Now I can sit down and start working without "Stuff" everywhere....

After getting all of this cleaned. I got to work.

Projects Galore...

So with my D&D game on hold for the month of June, I am currently on a "Western" kick. I've been busy getting back into building my old Western town of Rimfire, and with dogged determination, I am finally finishing up some of the TCL buildings I started back in Feb of 2016 and stopped working on in June of 2017. 

First up was to finished the TCL bank building.
This wasn't so hard as it was mostly just putting in the walls and trim, and adding "glass" to the windows and a door to the wall. 

The setup of the bank before I started the final assembly....


With the walls inserted, and a rubber band holding it together while it dries. 


The outer framework and golden filigree for the bank. I went with golden trimming to make it look "more attractive", (err..."robbable"), than normal. And the gold on green gives it a nice touch don't you think?


The interior walls of the bank. Installed and ready for tellers to smile at you as they take your money...


Another view of the inside of the bank.


A nice angular view of the bank, showing the interior...


With the front trimming on the building, the bank is essentially complete. 

A close up side view of the finished building. Here you can see the reflection of the clam shell blister plastic I used for "glass" for windows. 


A further away shot showing the size of the building... This is a standard TCL size long building...


With the building itself done, it was time to set up a couple of figures for scale and reference. They look pretty good next to it, if I do say so myself...


After this it was off to complete the Sheriff's Office and jail.
I finally got off my duff and started redoing that mess I created of making separate jail cells. I added some walls, and got more parts installed.  This one is about 95% done....

Aided by an ice cold Triple XXX Root Beer, I got to work on the Sheriff's Office and Jail, and started base-coating some Arnica Montana boardwalks.


A frontal comparison shot of a small store, the Sheriffs Office and Jail, and the bank.


Looking down you can see the size difference in buildings as well as two interiors.

ARNICA, MONTANA...

One of the other things I wanted to do while working on these buildings was to get onto to building my Arnica, Montana line of resin buildings that I had for a couple of years. 
The Arnica line was purchased a few years back by Hawgleg, and is currently in a semi-retired status as many of the molds are seriously worn. Due to the conditions of some of them, Hawgleg only produces kits per special request order at the moment. We are hoping to have this fixed soon...

So I decided to start off with the sidewalks/boardwalks.

For these (and other resin kits), it is HIGHLY SUGGESTED AND ENCOURAGED that you clean (wash), the resin pieces in warm (NOT HOT), water with a mild dish soap, (Ajax lemon or Dawn), and a scrub sponge. Once the pieces are washed, rinse them thoroughly in cold water, and set aside and let air dry for approx. 24 hours.
You can then prime them how you want them.

After doing this, I went with painting the boardwalks.
For a base coast, I am using Burnt Umber, and a darkened brown. 
For a little more variety, I did the middle one with a light coat of "Burnt Sienna".


After this I did a little adding additional colors....

"Lookin' a little worn there, Tex..."  The color mixture is nice....


After this I will use a drybrush of cinnamon and a lighter drybrush of off white for wear and tear on the wood and to show the middle being worn... 
More pics on this to come.

I've also started the wash and dry process with two Arnica buildings; (The Hotel and The Mercantile)...


I will be priming these in the next day or so, and getting them ready for assembly.

So I guess I am back to building my Western town...YEE-HAW!


And for Father's Day, my wonderful wife, (Gawd bless her!), fixed me a German Apple Pancake and Bratwurst!

Hence the obligatory food pictures!!!!


Mmmmmmm......

And that's it for now. 
Actually there's more, but I think I will need to make another entry into the blog to catch up.
Thanks for reading and I hope you enjoyed it.

More to come!
Monday, March 16, 2015

March Update! (aka: "The Ides of March" or somewhat thereof...)

Greetings dear reader;
Egads this thing (blog-wise), is becoming almost "regular"!
What's up with that?
It's odd how suddenly this thing seemed to kick up on it's own.

Okay, so I've recently returned from approximately 2 1/2 months of travelling hell for work. One week I am in Indiana, the next week Ohio, with Corporate calling me wanting me to be in Kenosha, Wisconsin, the following week, and then the next week off to California, and then back to Indiana, with plans for 2 weeks in Kenosha and a week following in Ohio....
Yeah...things like that.

So this weekend I decided to use it to get my "Painting Mojo" back up and going. 
Saturday wasn't so well. I spent a portion of time, cleaning up the hobby/work table. Sometimes the "project" is cleaning up your area, so you can keep working on projects. With Mini gamers that is often the sad truth. We collect things...little pieces of plastic, cardboard, odd shaped containers. 
What one person sees as a "round, plastic, cover cap to a spray can", we, on the other hand, see it as as a "Operational Radar Dome for a secret base build deep into a mountainside...."

Yeah...our minds work that way.

So Saturday was that day when everything took twice as long, and wasn't as productive. A 10 minute painting job took 30-40 minutes. I just couldn't get into it, and I left the table feeling frustrated.
And I have a lot of figures in my "to paint queue"....


(My painting queue is set up in stages, this is the stage of "ready to go to the painting table next. If you look closely you can see a wide variety of figures including one old Grenadier(!) vampire, as well as Rafm, Ral-Partha, Pulp Figures, Blue Moon, Old Glory, Foundry, Tri-Tac, Westwind, and some others...I think I have some Bolt Action, ShadowForge, and others around also...)

So I did what any other good gaming person, did...I fumed....
And planned.

On Sunday morning I got up bright and early , and came in with a fresh mind and a fresh start....

It also helped to have my wonderful wife (Gawd bless her!), bring me breakfast at the work table....
I have an amazing wife...ya know that?

(Eggs, bacon, toast and jam, and fresh coffee too!!!!  A great way to start a day of working on figures!)....
As a result I was able to crank out....a lot....

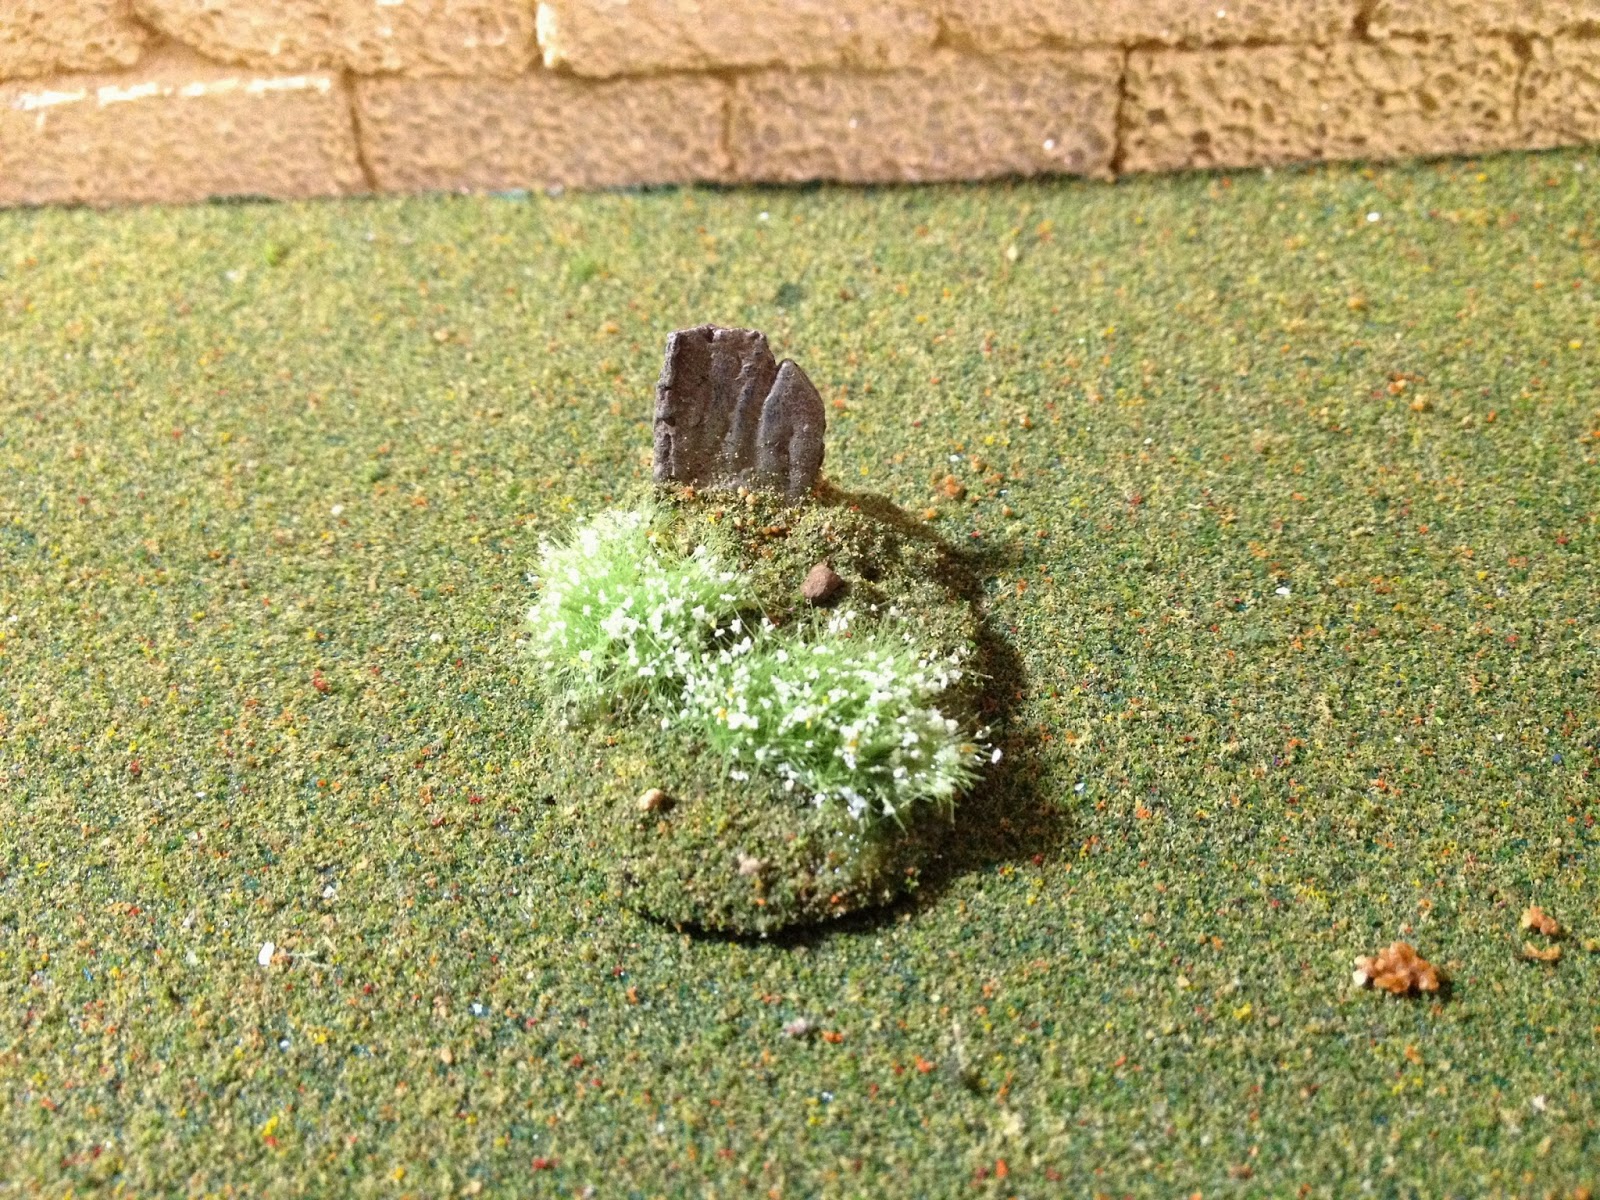
One of my projects was to finish a mass set of graves I had gotten in the mail from my buddy Michael Mitchell of Hawgleg. So I had primed them the day before and base coated them, and today was painting the tombstones, weathering, and flocking and sealing. 
So I got 18 of them done...the full set...
Some of them I made with a dirt/rocky covering for desert/southwest style graves, while others were given a more grassy tone, and found of them I put flowers, weeds on, to make them "remembered", or "grown over and forgotten"...


("Yeps....it's a grave situation I have here....)

Below are some close-ups of the flowery graves...showing the different tufts, etc. These are some of the pieces I've been working with that I got from Little Wars last year.


But there's more that I did than just making graves....
While bouncing between "Irish Pub Radio", and Radio Riel "Dieselpunk", I sat down and cranked out these four in relatively quick fashion.

I call them "The North-Side Ladies Tea and Crumpets, Poetry, Sewing, Temperance, Suffrage, Occult Research, Croquet, and Murder Society"....

(The Ladies Society....always on the edge of adventure....one way or another...)

As I have finished up one project and yet see more 28's coming my way (Besides my paint queue, I made a rather large order to Bob Murch for Pulp Figures),  I started thinking about something that has been laid wayside for approximately a year now...and that would be my beloved 15mm figures.
It's been a while since I've given them some love....

So looking in the drawer, I pulled out some "Soon to be painted" vehicles for The Fandango Republic, (Bongolesia's neighbor to the South) for some future border skirmishes....

(Some potential future firepower from Bongolesia's neighbor to the South).....

Hopefully I will be getting more done here in the next couple of weeks, as I finished painting up some figures and play-test my Chili Verde game...

More to come....

Thanks for reading...