As January comes to a close, the work on "The Man Cave" continues, but the primary work is winding down.
Most of the gaming boxes have been moved to their respective areas, and the unloading and setting up is still going on.
However, I wanted to share with you, a (mostly) finished objective.
The Painting Room/Work Room is essentially FINISHED!
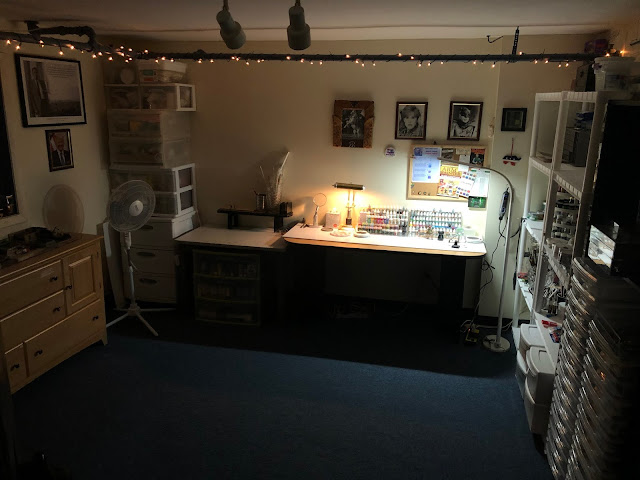
Bedroom #4 is in the basement and has become part of "The Man Cave".
The room is 12 X 12.
Here's the current setup for what you see when you enter...
 |
| The entrance view to the Painting Room, (minus the chair, floor mats, and trash can.). |
 |
| The room with the overhead lighting off and just the lamp and fairy light illumination. |
Here's another view showing the shelving units right next to the desk.
To the left is the project queue table, with my "Crafts" paints in containers below for easy access.
The table itself is protected by two sheets of foamboard, which will have a third piece cut and attached to protect the bottom edge of the table. Currently on the table is an illuminated table magnifier, a bankers desk lamp, two 5 shelf paint racks holding my eye dropper bottles and paint pots, two cup warmers (one for paint water and one for coffee...on opposite ends so I don't have any "accidents"), A table magnifier with clamps setup to hold items in place, my palette, and a GW figure holder. Standing guard on the table is an old OOP late 1980's Citadel Hill Giant.
Lighting for the room and for painting is supplied by two overhead adjustable track lights (LED 120v 14w bulbs), as well as an OTT floor lamp and the bankers desk lamp. Future plans include 1 more OTT desk lamp.
The Shelves:
To the right of the painting desk is the shelving units. Each of these is a standard 5 shelf PLANO setup from Wally Word. #1 on the left is set up for tools and paints, while #2 on the right is set up for groundwork, bases, glues, etc.
Right between the table and the shelves, I have attached my Dremel. This way I can access the Dremel, and the accessories easily.
Let's take a closer look at the shelves shall we?
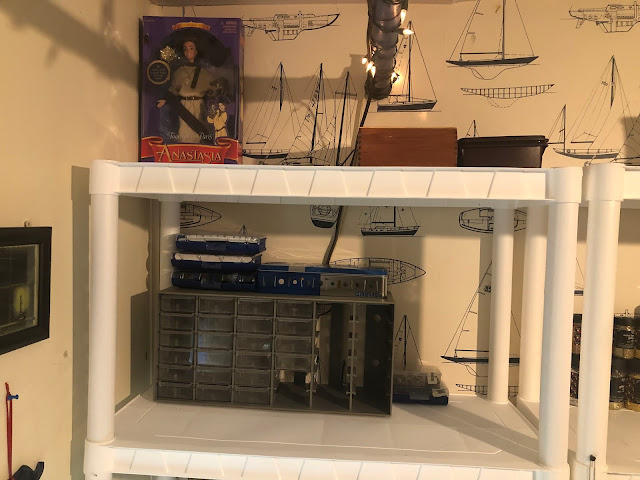
LEFT SHELF:
Shelf #1: The top of this shelf holds some miscellaneous items in containers, (cigar boxes, etc.), and my daughters Anastasia birthday doll that she didn't want when I gave it to her.
Shelf #2: This is my Dremel shelf. All Dremel tools and accessories (as well as instructions), are kept here.
RIGHT SHELF:
So with the right shelf, I got a little "anal retentive" with the label maker. I had so many containers of "stuff" and I needed to get them organized. You see my wife has this weird philosophy of "A place for everything and everything in it's place", which kind of goes against the chaos of wargamers, but I decided to go with the flow because that was indeed one of the biggest issues with my work area.Shelf #1: Holds a container of Lichen for groundwork, as well as molding supplies.
Shelf #2: This shelf holds various forms of glitter (don't ask), as well as varuous labelled containers of parts and pieces as well as labelled containers of loose figures.
Shelf #3: This shelf holds my groundwork, turf, stones, and all of my basing materials as well as my different bases in labelled organized containers.
 |
| Helping to keep things organized...what madness is this???... |
 |
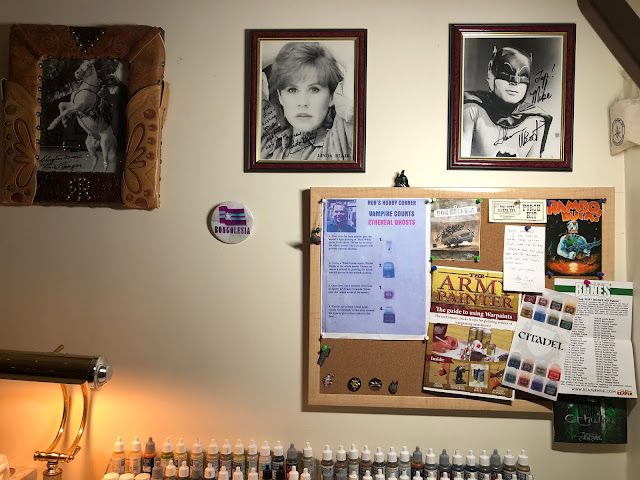
| Painting References and Inspiration, all of it is right before my eyes... |
 |
| My autographed pic from the late Adam West. Truly an interesting gentleman to say the least... |
 |
| My autographed picture of the Late Clayton Moore...the best and only "Lone Ranger", EVER.. |
 |
| And of course, the "Goddess of my painting table", the ever enchanting Ms. Linda Blair...*shiver*... |


3 comments:
OK, I'm REALLY jealous!
Thanks for inviting us in!
Looks amazing! Really nice work. Thanks for showing us your space!
Post a Comment