So it's been a bit of a busy month from October to November so far this year at our house. We recently celebrated our one year anniversary in it, and then the anniversary of my wife and myself, (Big #9), and then my birthday a week later. I've landed an extended contract gig that is a remote, so starting in December I will be back to 40+ hours a week behind a keyboard, so in knowledge of that, I decided to get some more painting done.
I did a variety of fantasy and historical figures, and have found out that if I "mix it up" a little, instead of binging on one genre, that I don't get "burnt out too quickly", (hmmm...paint 5 fantasy, 5 pirates, 5 cowboys, 2 small animals or scenic items, and 3 miscellaneous vs painting up 20 pirates or cowboys, or...), plus it keeps me adding to each group of figures instead of one group getting a batch of painted ones, and the others woefully waiting.
So starting up, I decided to try my hand at something "A little large and different", and that would be a Gelatinous Cube.
This is kit from Wiz-Kids. the cube comes essentially in three pieces. A round base, an "interior goo" of digesting unfortunates, and non-digestible items such as swords and magic wands, and the clear exterior cube.
The first thing you need to do is to clearly and thoroughly wash these and let them dry. Due to their construction there is the possibility of a lot of mold release agent used.
Although Wiz-Kids says that you can paint their figures "right out of the box", I have found that while this is true, the paint has issues with the figures, so a thorough washing and drying of Wiz-kids figures is recommended before painting.
Assembly was relatively easy: Glue the digestive ring of inner goo to the base and you are done.
After that it was painting. For the inside bones I used an off white/ivory white, and then normal colors of metal for swords, etc. Around the bones I did a very light brushing of Vallejo Fluorescent Green, and then the rest of it got Tamaiya Transparent Green.
For the cube itself, I used the teachings of a Youtube video. Using the Tamaiya Transparent Green, I did each side the same, by painting approx. 1/3 with a stripe of color and them running a large drybrush over and across it moving the green across the cube and giving it color but not overwhelming it. The green color also gave an impressive edging on all the angles of the cube.
And voila! Finished.
So allow me to present to you "Jelly, the Gelatinous Cube"....
 |
| (Every dungeon needs it's own vacuum cleaner...) |

 |
| (This is what happens to those nasty, invasive, murder-hobos that call themselves "adventurers" when they come to loot and plunder your beloved treasures from your dungeon...) |
After this is was off to do a quick paint up of some undead.
Every October, (Halloween, some of the fantasy figures I try to paint up are always "undead/spooky/Halloween based, and this year was no different.
This year I decided to crank out a few, and in doing so decided to try my hand with some of the translucent/clear Reaper Bones figures, as well as some of the RVE stuff that learned earlier in this year.
The first figure was Reapers Grave Wraith. This was a quick paint job using GW's Nihilakh Oxide as a light base coat, and a wash using GW's Coelia Greenshade, and a very light touch of white for highlighting.
I'm quite happy with the way things turned out!


 |
| (You can see the translucent appearance here.) |
 |
| (A close up view)... |
 |
| (Final view showing the color scheme)... |
My next project was Reapers Medium Fire Elemental.
This was my first time painting "fire", and I used the Tamaiya Clear Red as a coating over the entire model as the base coat. I then used the instructions on "how to paint fire" that were recently included in Wargames Illustrated.
I think she turned out pretty good.


After that, it was a color comparison of two Reaper "Strumpets".
I went with one a blonde and one a redhead, and wanted to experiement with different color matches, and with the exception of cleaning up the base on the blonde, was happy at how they turned out.
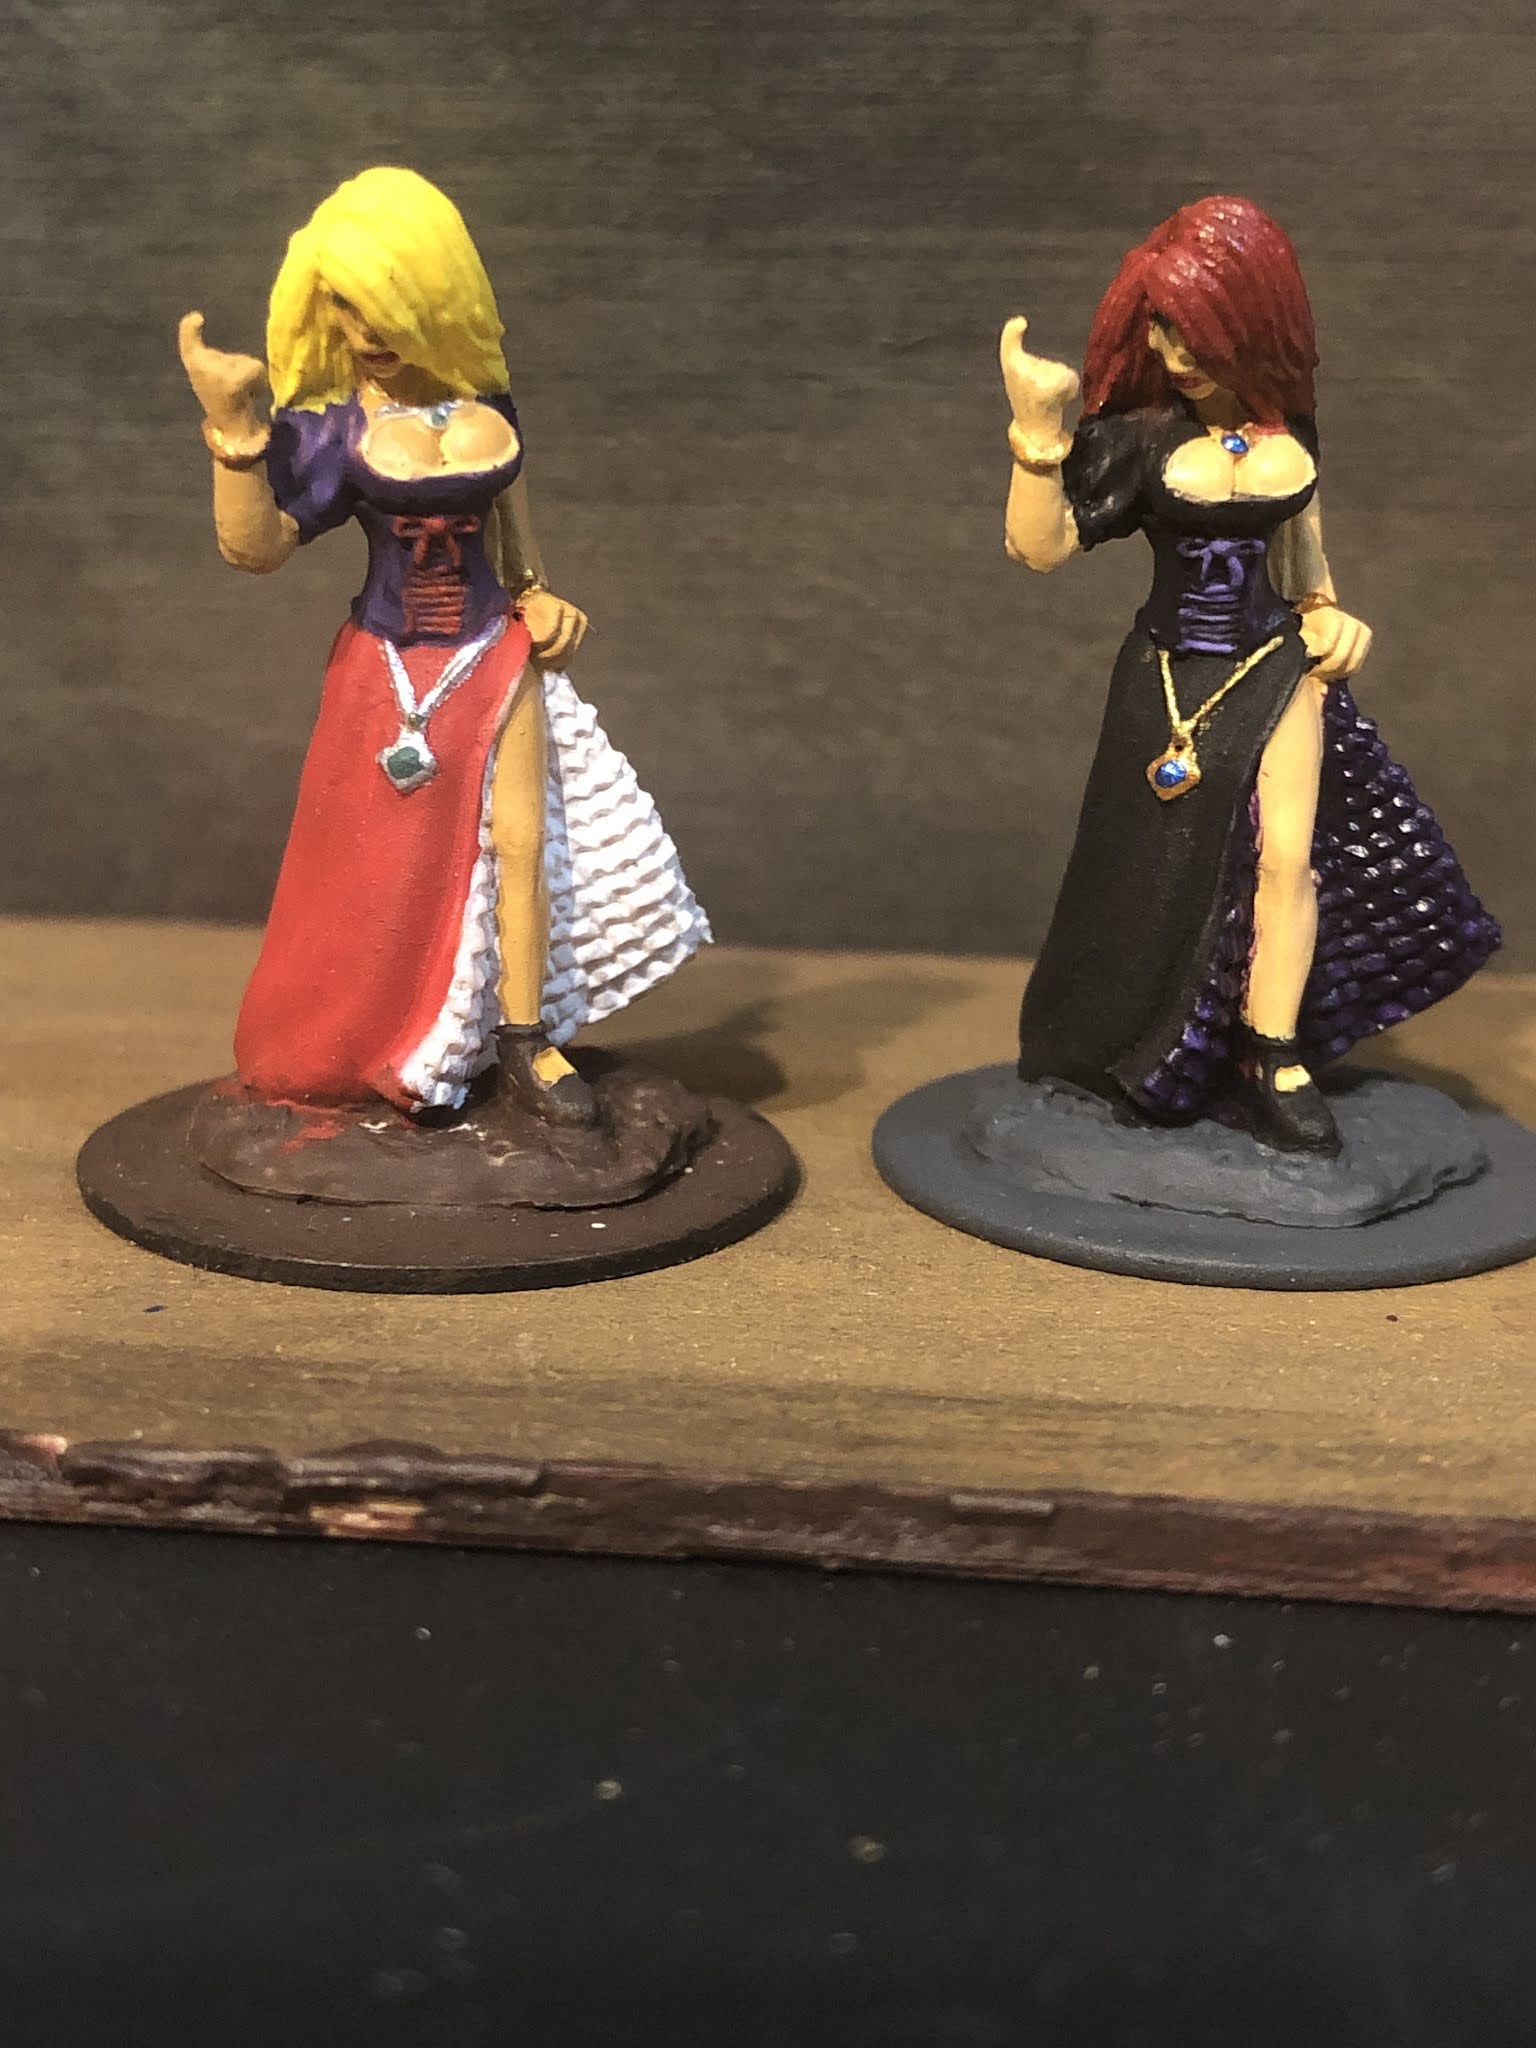 |
| (Double Trouble....) |
 |
| ("Step just a little closer....") |
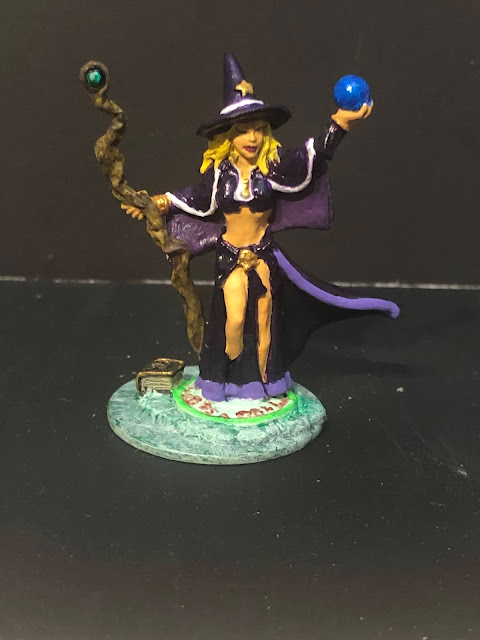
After that, the next one was a Reaper Dark Heaven Witch figure.
I played around with satins and clear colors on this one a lot and wanted to give the base a "frosty glaze" look to essentially show the magic of the circle that she is in.


Then I decided to work on some Reaper Townsfolk. In this case, a very tired, and disheveled mother with two children. I wanted her to show the weathering and hardships she was going through. The poor girl actually "looks" tired.
Of particular interest to this set is that the figure of the little boy has no nose! I did a little paint work to try to make one, but there's not enough there to work with, so I went with what I had, while a part of me was wondering if I was actually painting a young Voldemort!
 |
| (All she needs is a little break...and some clean clothes....and a hot bath....and a six hour nap....and....) |

I also got around to painting some historical figures and finished up this Foundry pirate figure.

What's on the table???
Here's a recent pic of my painting table with some of the figures on it before completion and some more to be completed. My homemade "wet pallet" is the box to the left with the closed lid. And yes I know I need to change out the pink paint water!

And this is my current figure queue lineup for now. Figures that need to be painted/finished, etc.

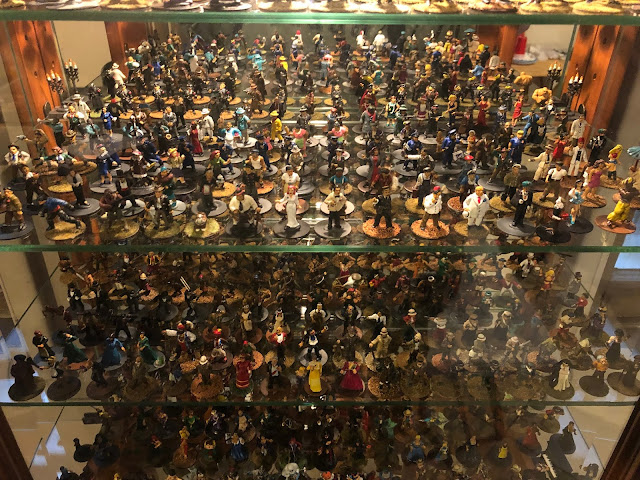
What's in the case???
So the other night, I did a silly thing, (yes...that seems common around here).
I decided to try to get an accurate count of my figures.
So the current figure count is: 617 figures painted and in this case (Case #1). Of these 617, 608 of them were painted by me.


YIKES! I need more shelves!
Okay that is it for this horribly late entry.
More to come!
No comments:
Post a Comment