It seems like the blink of an eye since May and suddenly we are at the high point of June. Solstice and the shortening of the days. So I guess it is time for me to get on with another update.
CLEAN UP THAT ROOM YOUNG MAN!!!!!
Okay, so in tried and true miniature gamer tradition, I trashed my work area.
Projects came and went, repair jobs are waiting to be done. Old projects coming back to life, new projects trying to start, figures needing paint....AAAAAAHHH!!!! *runs screaming*....
Okay...*huff huff*...I am back now...*wheeze*
So the other day I came down into the paint room and realized just "what a mess" it had become.


YIKES! My mom would kill me!
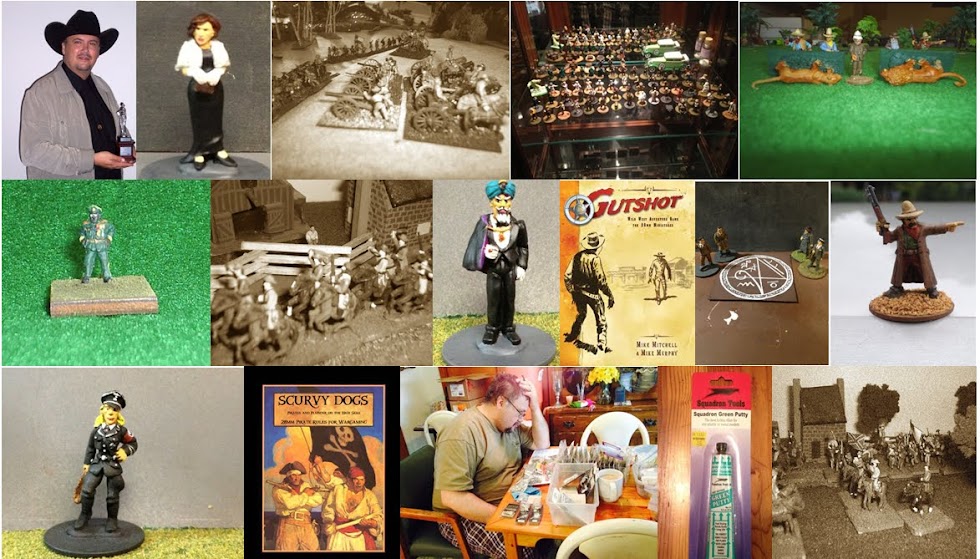
So I sucked in a big ol' gulp of air, put on some music, and went to work cleaning up the area, and the paint/work table.
Trash was thrown away, old paint water drained, dropper bottles and paint pots, back into the rack, tools and brushes back into their respective containers, stuff picked up off the floor, etc.
Finally I got it looking decent once again....
 |
| Now I can sit down and start working without "Stuff" everywhere.... |
After getting all of this cleaned. I got to work.
Projects Galore...
So with my D&D game on hold for the month of June, I am currently on a "Western" kick. I've been busy getting back into building my old Western town of Rimfire, and with dogged determination, I am finally finishing up some of the TCL buildings I started back in Feb of 2016 and stopped working on in June of 2017.
First up was to finished the TCL bank building.
This wasn't so hard as it was mostly just putting in the walls and trim, and adding "glass" to the windows and a door to the wall.
 |
| The setup of the bank before I started the final assembly.... |
 |
| With the walls inserted, and a rubber band holding it together while it dries. |
 |
| The outer framework and golden filigree for the bank. I went with golden trimming to make it look "more attractive", (err..."robbable"), than normal. And the gold on green gives it a nice touch don't you think? |
 |
| The interior walls of the bank. Installed and ready for tellers to smile at you as they take your money... |
 |
| Another view of the inside of the bank. |
 |
| A nice angular view of the bank, showing the interior... |
 |
| With the front trimming on the building, the bank is essentially complete. |
 |
| A close up side view of the finished building. Here you can see the reflection of the clam shell blister plastic I used for "glass" for windows. |
 |
| A further away shot showing the size of the building... This is a standard TCL size long building... |
With the building itself done, it was time to set up a couple of figures for scale and reference. They look pretty good next to it, if I do say so myself...


I finally got off my duff and started redoing that mess I created of making separate jail cells. I added some walls, and got more parts installed. This one is about 95% done....
 |
| Aided by an ice cold Triple XXX Root Beer, I got to work on the Sheriff's Office and Jail, and started base-coating some Arnica Montana boardwalks. |
 |
| A frontal comparison shot of a small store, the Sheriffs Office and Jail, and the bank. |
 |
| Looking down you can see the size difference in buildings as well as two interiors. |
ARNICA, MONTANA...
One of the other things I wanted to do while working on these buildings was to get onto to building my Arnica, Montana line of resin buildings that I had for a couple of years.
The Arnica line was purchased a few years back by Hawgleg, and is currently in a semi-retired status as many of the molds are seriously worn. Due to the conditions of some of them, Hawgleg only produces kits per special request order at the moment. We are hoping to have this fixed soon...
So I decided to start off with the sidewalks/boardwalks.
For these (and other resin kits), it is HIGHLY SUGGESTED AND ENCOURAGED that you clean (wash), the resin pieces in warm (NOT HOT), water with a mild dish soap, (Ajax lemon or Dawn), and a scrub sponge. Once the pieces are washed, rinse them thoroughly in cold water, and set aside and let air dry for approx. 24 hours.
You can then prime them how you want them.
After doing this, I went with painting the boardwalks.
For a base coast, I am using Burnt Umber, and a darkened brown.
For a little more variety, I did the middle one with a light coat of "Burnt Sienna".

After this I did a little adding additional colors....
 |
| "Lookin' a little worn there, Tex..." The color mixture is nice.... |
After this I will use a drybrush of cinnamon and a lighter drybrush of off white for wear and tear on the wood and to show the middle being worn...
More pics on this to come.
I've also started the wash and dry process with two Arnica buildings; (The Hotel and The Mercantile)...

I will be priming these in the next day or so, and getting them ready for assembly.
So I guess I am back to building my Western town...YEE-HAW!
And for Father's Day, my wonderful wife, (Gawd bless her!), fixed me a German Apple Pancake and Bratwurst!
Hence the obligatory food pictures!!!!


Mmmmmmm......
And that's it for now.
Actually there's more, but I think I will need to make another entry into the blog to catch up.
Thanks for reading and I hope you enjoyed it.
More to come!
1 comment:
The buildings look great.
Post a Comment